A recent project I’ve completed involved some fun Docker usage.
Docker has become a fun industry buzz word whenever someone wants to create a modern web application. For good reason, I might add. Docker allows software to be containerized in isolated sections of an operating system. The best part about this is that everything is self contained, which makes updating and administrating these containers a breeze.
However, to actually gain the benefit of Docker, you must actually use it properly. For starters, if volumes are not setup you might lose data when updating a container. If the containers are not setup to restart, they won’t start automatically when the server goes down.
These are some of the key features I opted out of learning when starting with my Docker experience. As such, it was a royal pain to migrate my data and utilize proper Docker setups.
Another factor that plays into Docker is the core security behind the scenes. Did you know that the Docker Linux daemon can runs as the root user? Did you also know that the core concept of Docker is against the philosophy of Linux daemons. Linux is supposed to be a bunch of packages that do small things – small things that work 100% of the time. There isn’t supposed to be a large single point of failure running the show (Most of the time).
So, considering these factors, I’ve also been playing with a Docker alternative called: Podman
Creating a Podman server?
Podman is an independent containerization software like Docker, built by Red Hat Enterprise Linux. The idea behind Podman is that it is simply a more secure and stable version of Docker. Without getting into a massive deep dive the main differences are as follows:
Podman lets containers run using user accounts, not just the root account.
Podman uses a daemon-less architecture. It uses multiple pieces and applications to produce it’s function. It is not an all-in-one solution like Docker. Which might mean a more stable platform.
Docker and Podman both have many Pros and Cons. My primary homelab direction has always been on overkill security, so I’m tending to lean towards Podman in the usage of my containers.
And use I shall:

I ended up building 3 containerization servers. I’m using Rocky Linux as the core operating system for all of them, as Rocky Linux is a replacement for CentOS.
DOCKER_JAGUAR is my main Docker server.
DOCKER_LION and
DOCKER_TIGER are my Podman servers.
All 3 of them have Cockpit enabled, of which I use my ROCKY_COCKPIT server as the jump point into them.
Cockpit has proved to be an amazing feature built into Rocky Linux. I have each box setup with an SSH Key and randomly generated passwords. I love being able to access all of my servers from a web GUI:
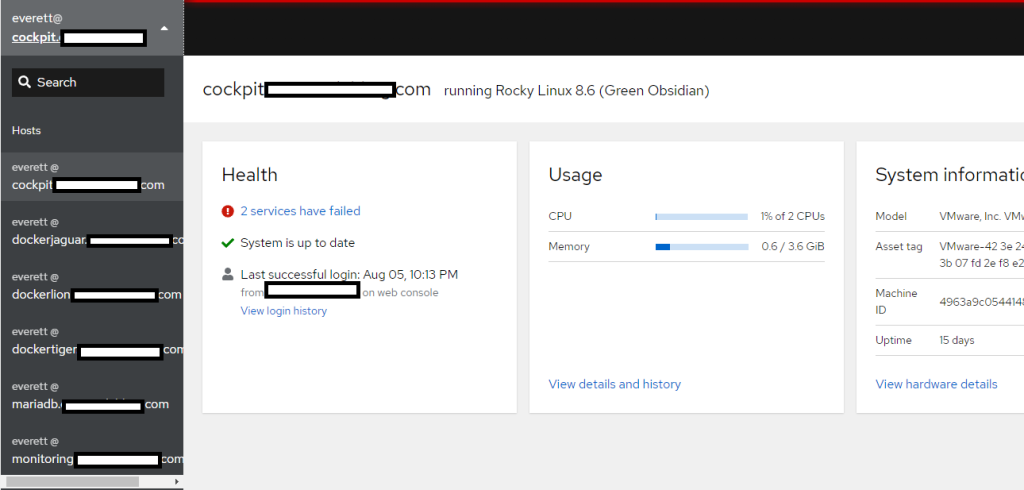
One of the best features of Podman is the default integration with Cockpit on Rocky Linux:
When signing into a server, the Podman option in the left menu let’s us directly manage the containers running on the server:

This native functionality is great, and makes managing these containers so much easier.
Podman replaces the Docker command when managing containers. For example, if you wanted to create a container using the command line, you’d enter:
podman run --name some-wordpress --network some-network -d wordpress

Instead of

docker run --name some-wordpress --network some-network -d wordpress
These includes other commands, like “docker container ls -a” becoming “podman container ls -a”. This makes it easier to switch between the two platforms, as a single command syntax style only needs to be remembered.
The biggest issue I’ve had with Podman is that it doesn’t seem to have native support for Dockers compose functionality. The biggest benefit of Docker compose is that you can use a single .yml file to generate multiple containers, or complex single containers with a simple “docker compose up” command.
There are scripts you can install and integrate with Podman, but I hesitate using them as they are not officially baked into the software. Sure, they’ll probably work most of the time – but as I’ve learned in IT: We never want to depend on third party fixes, or solutions – unless you’re paying for it.
Docker server setup
As Podman doesn’t support compose, I opted to place a lot of my modern services on my DOCKER_JAGUAR server.
The DOCKER_JAGUAR server again uses Rocky OS with Cockpit as it’s core operating system. However, I installed the latest version of Docker using the repositories hosted on the main Dockers website. The install process was relatively simple. Sadly, Cockpit does not have native support for Docker as they’ve decided to use Podman as it’s main container software. There are some alternative plugins available, but again I’m looking for the most production like OOB experience (I’m sure the alternative plugins are awesome though).
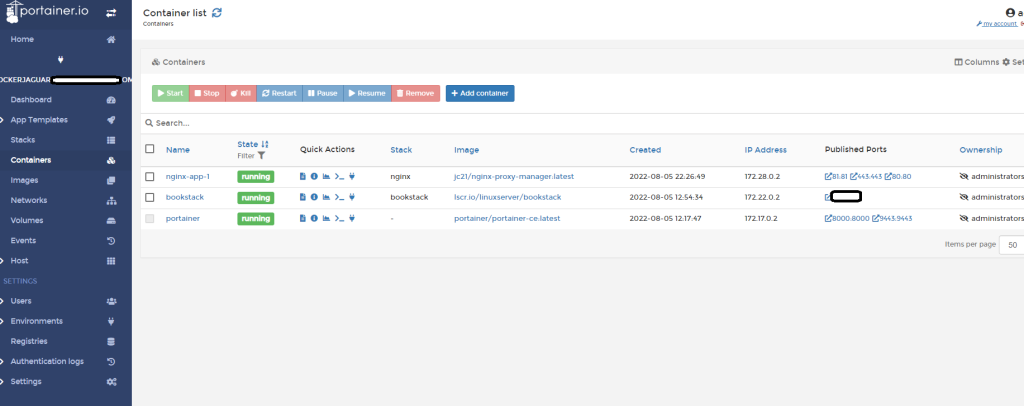
So as I’ve been spoiled by a GUI experience, I wanted to continue that option. A perfect Docker container is: Portainer.
